
Step-by-Step Guide: What Happens Inside the U.S.Consulate Visa Interview in Chennai
- Deepak B
- Nov 25, 2025
- 2 min read

Navigating the visa interview process can be nerve-wracking. Knowing what to expect inside can make you feel confident and prepared. Here is your step-by-step walkthrough.
1. Arrive Early
Chennai traffic is unpredictable.
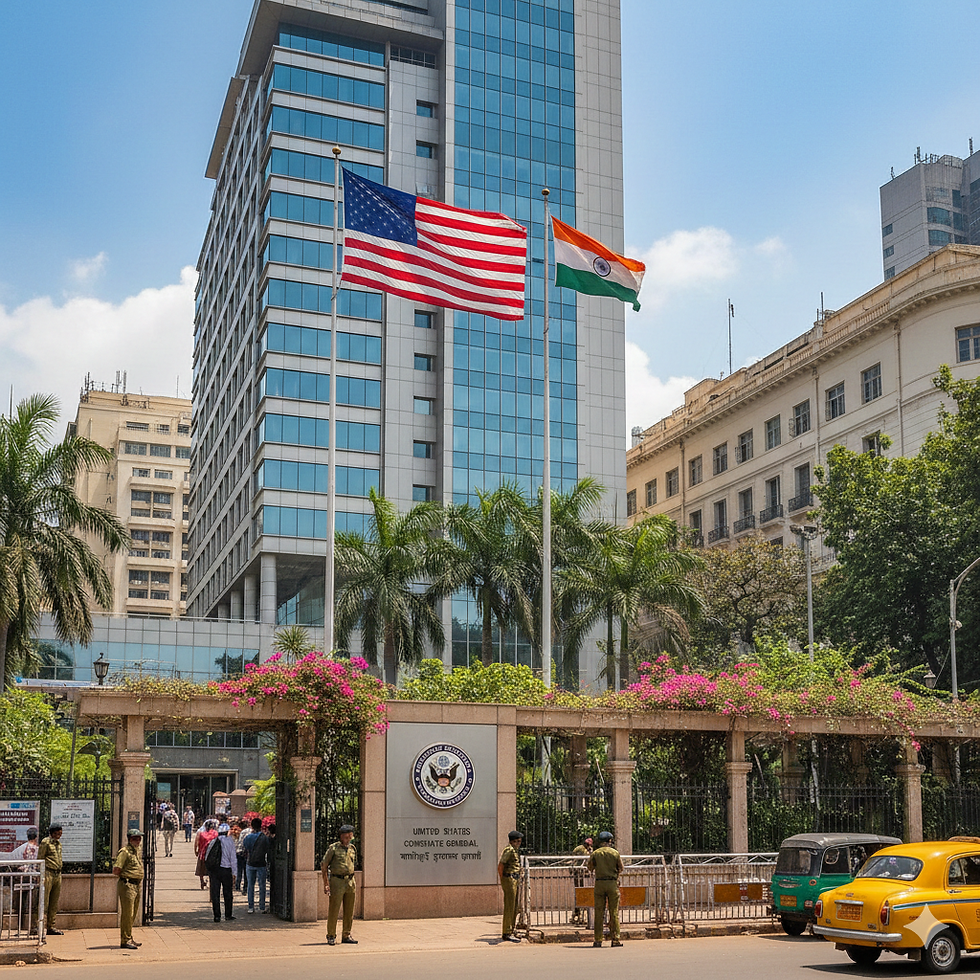
Arrive at-least 1 hour prior to your Visa Appointment Reach the US Consulate , but avoid showing up too far ahead of your scheduled time—entry is strictly time-based.
2. Security Rules – Allowed & Not Allowed
U.S. consulates have strict security. Do not bring prohibited items.
NOT ALLOWED: Mobile phones, laptops, tablets, large bags, backpacks, food/drinks, sharp objects, sealed envelopes, or any electronic device.
ALLOWED: A clear plastic folder containing your visa application documents. A small purse/wallet..
3. Beware of Outside Locker Scams
Avoid unofficial locker services, small stalls, or street vendors around the Consulate.
They may be unsafe, temporary, or charge high fees.
4. Aprion Digital Locker – Safe & Trusted Storage
Since prohibited items cannot be taken inside, storing them safely is essential.
Key Features
Face Detection Access: Secure, touch-free entry.
Smart Digital Lock System: No keys or tokens—pure digital access.
Online & Offline Booking: Book in advance or walk in anytime.
Air-conditioned waiting room
Clean restroom facility
Walkable distance from the U.S. Consulate, making it extremely convenient
5. Entry Queue & Security Check
Once you reach the Consulate:
Show your passport and appointment confirmation at the entrance.
Security staff will guide you to the queue for verification.
A complete body scan and security screening will be done.
Any remaining prohibited item will be rejected—so store everything beforehand.
6. Fingerprint Verification Window
You will then move to the first window where:
You show your passport again
You show your appointment confirmation page
Your fingerprints are verified (if not already done at VAC)
This step is quick and guided by staff.
7. Queue for the Actual Interview
Next, you join the interview queue:
The line may look long, but it moves very fast
Most interviews last 1–2 minutes
Officers ask direct, simple questions
Stay calm and attentive while waiting.
8. The Visa Interview
The Officer may ask questions related to your:
Passport
Purpose of travel
Job, studies, or trip details
Financial support (if applicable)
Answer confidently, honestly, and briefly.
The officer decides within seconds.
9. After the Interview
If your visa is approved:
The officer will keep your passport
If Approved: The officer will say your visa is approved. They will keep your passport. You will be directed to exit the consulate
If placed on administrative processing or refused, the officer will inform you immediately.
10. Exit and Passport Delivery
After approval, you are directed directly to the exit (there is typically no long wait hall after the interview). Your passport will be retained for stamping and delivered to your designated address (home address) with the visa stamp in the following days


Comments